Coinsnap for BTCPayWall payment Plugin
If you want to accept donations or offer content for Bitcoin or Lightning payments on your WordPress website, we recommend using BTCPayWall. BTCPayWall acts as a Bitcoin paywall for the sale of digital content on WordPress.
BTCPayWall enables the monetization of individual blog posts (pay-per-post), videos (pay-per-view) and digital products such as e-books or PDFs. It is also possible to accept donations in Bitcoin. Customers can simply pay with Bitcoin or Lightning.
The BTCPayWall plugin for WordPress is designed so that it can be integrated with both the BTCPay server and Coinsnap as payment gateways. To use the BTCPayWall via Coinsnap, link it to your Coinsnap account so that your customers can make payments in Bitcoin and Lightning. All incoming Bitcoin payments are immediately forwarded to your Lightning Wallet.
Example: Receipt of donations
The following applications are possible with the BTCPayWall:
- Protect blog posts with a paywall and give access to the content when visitors pay with Bitcoin or Lightning.
- Secure video and audio files with a paywall and release them in exchange for a Bitcoin or Lightning payment.
- Digital Store – Sale of digital files that customers can download to their computer.
- Accept donations directly on the website.
- Receive Bitcoin and Lightning donations.
If you would like to support Coinsnap with a donation, you have the opportunity to explore the donation function of BTCPayWall from a user’s perspective. Donate a few Satoshis to Coinsnap.
Powered by BTCPayWall
2 methods for installing the BTCPayWall plugin in WordPress
First installation method
To install the BTCPayWall plugin, navigate to the Plugins > Add New section in the WordPress dashboard.
To install the BTCPayWall plugin, navigate to the Plugins encoded_tag_closed Add New section in the WordPress dashboard. Click on Install, and after successful installation on Activate. You can now start configuring the plugin.

Alternatively, the plugin can also be downloaded from the WordPress directory page here.
Second installation method
You can also install the BTCPayWall plugin via the “Add plugins” option in the “Plugins” menu.
If you have downloaded the plugin from the WordPress directory or from the BTCPayWall Github page, use the “Upload plugin” function.
As soon as the plugin has been successfully installed, it can be connected to the Coinsnap Payment Gateway.
Connect the Coinsnap account with the BTCPayWall plugin
Once the BTCPayWall plugin has been successfully installed, it can be linked to the Coinsnap website. If you don’t have a Coinsnap account yet, you can create one here.
You can find help on registering with Coinsnap on the “First steps” page.
After you have set up a Coinsnap account, navigate to the BTCPayWall settings.

(1) Activate Coinsnap as payment gateway
By clicking the activation button, Coinsnap is activated as a payment gateway.
(2) Configuration
Click on the “Manage” button.
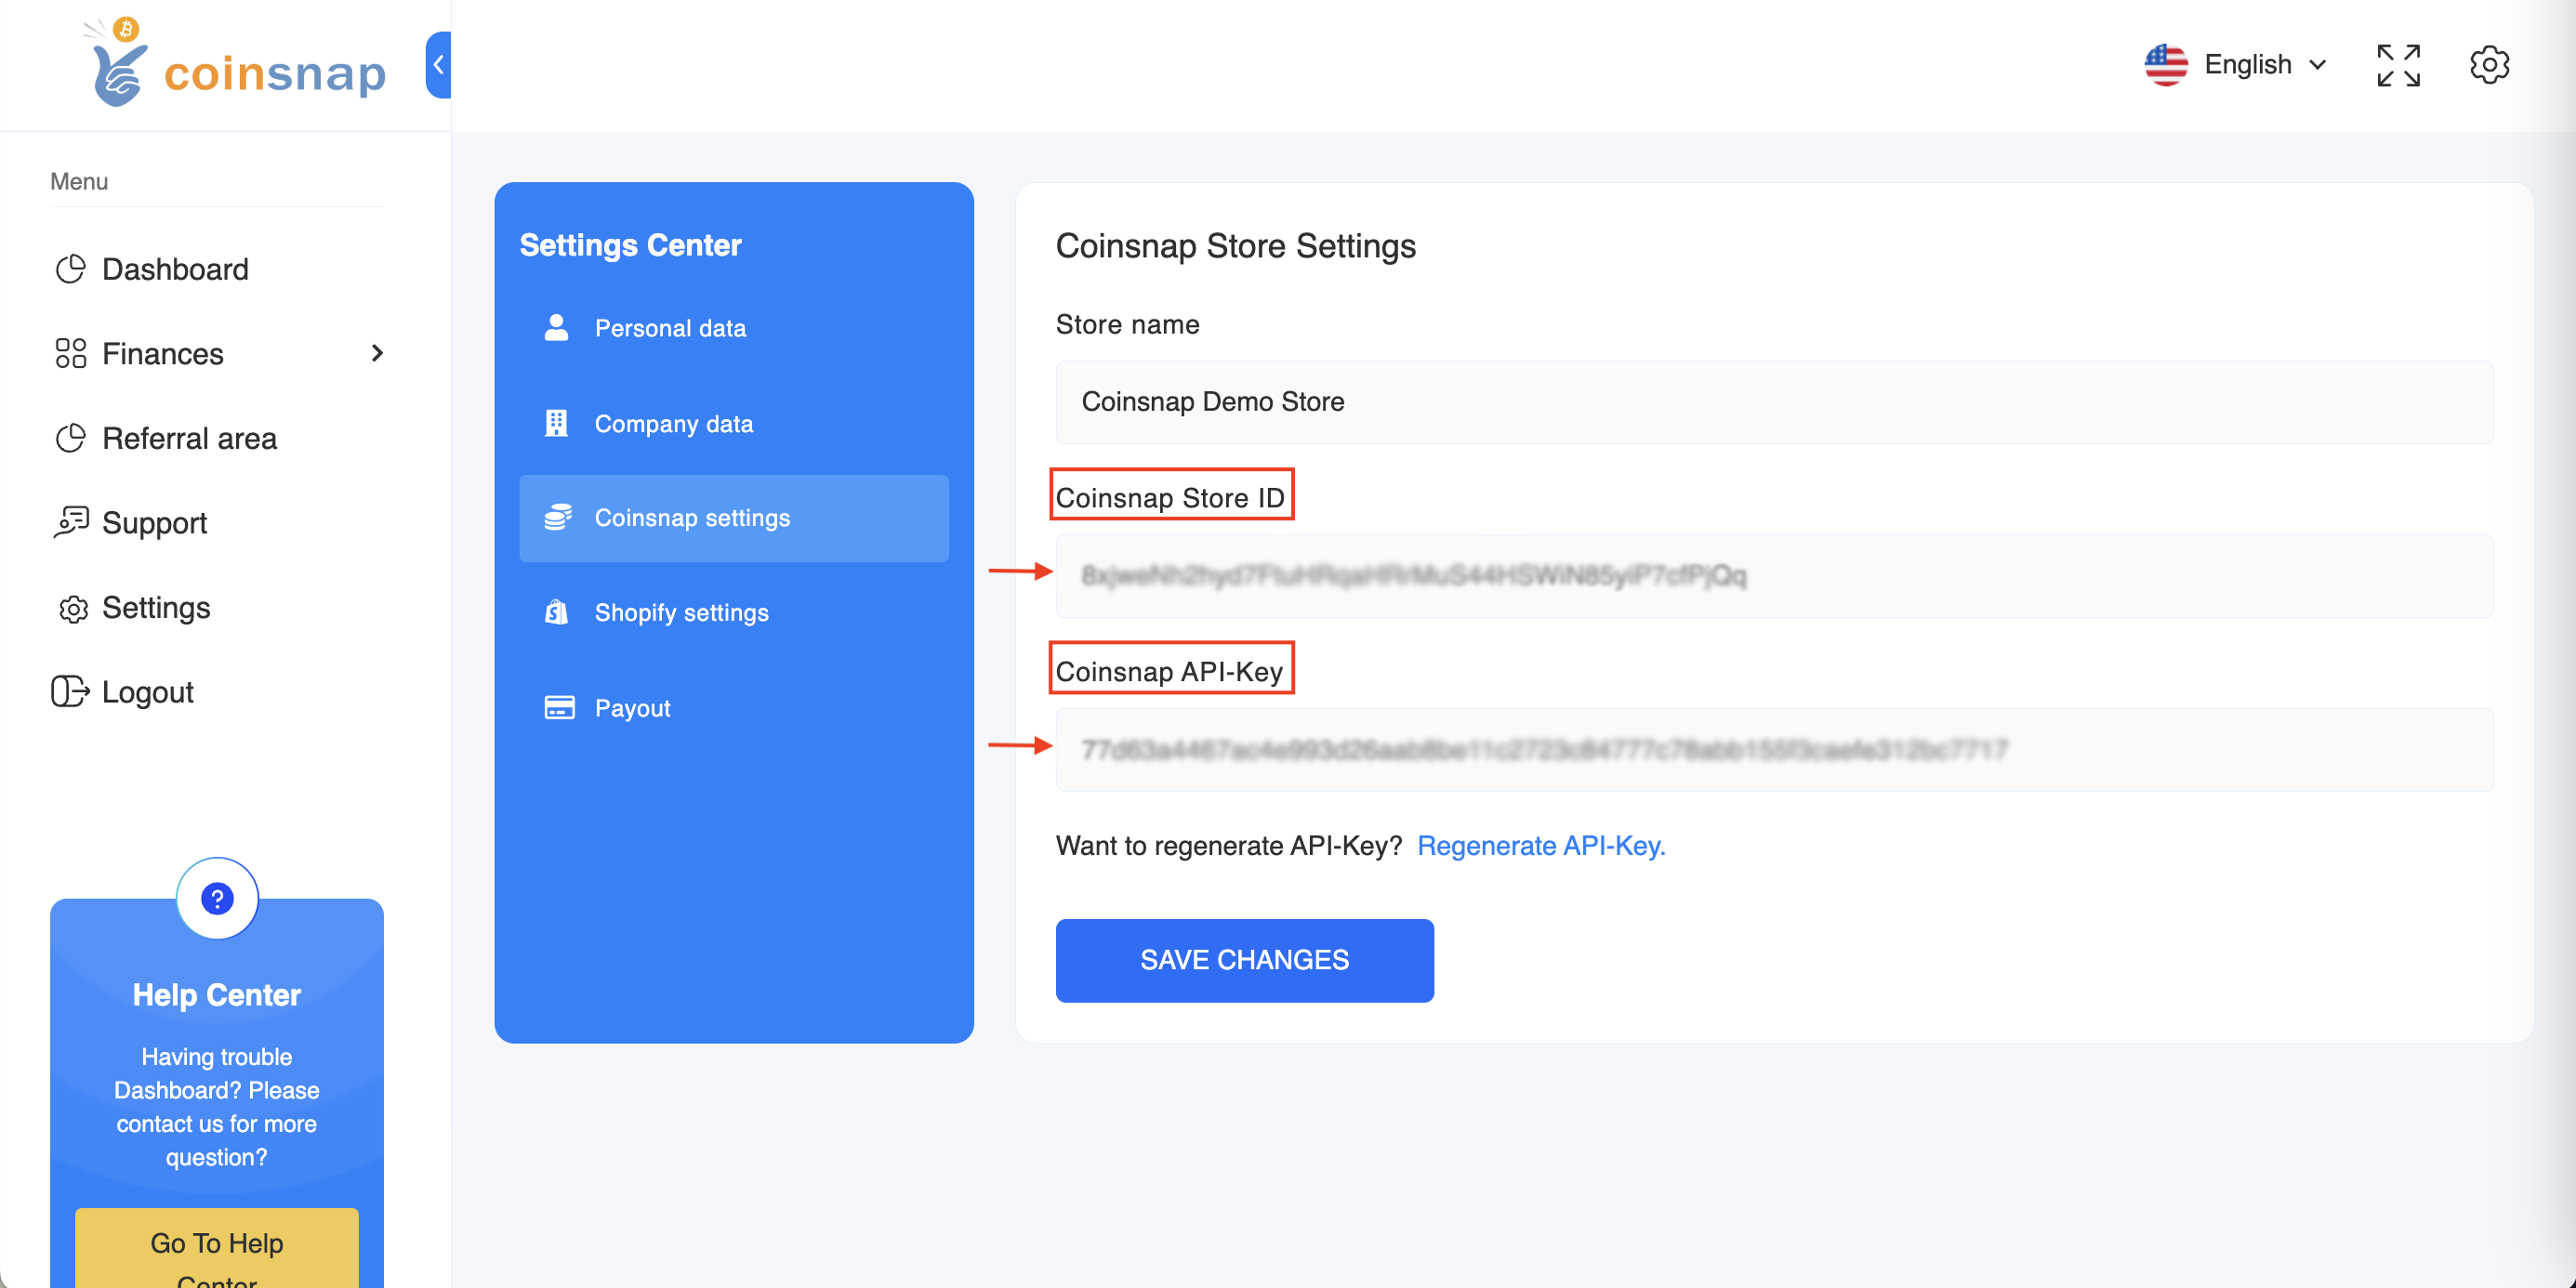
When you click on the button, you will be asked for your Coinsnap Store ID and your Coinsnap API Key.
You can find this information in the store settings in your Coinsnap account.


(1) Saving data
Click on the “Save” button to save the data.
(2) Test connection
After entering the information, check the connection. If everything is set up correctly, you will receive the message “Coinsnap connected”.


